Saturday, December 29, 2012

How-To: Easy(ish) Adventure Time Nail Art

Hello everyone! Lately I've been a little obsessed with Adventure Time, which you should definitely watch if you haven't already. After having an AT marathon yesterday, I was inspired to create a Princess Bubblegum and Finn manicure!

There are a few Adventure Time manicures floating around the internet, but many of them seemed quite difficult to achieve (especially without acrylic paint), so I tried to make mine a bit easier, but just as adorable.

Pssst- this hand was painted with my non-dominant hand (the left)! Really though, this design is pretty easy.


Step 1.) As always, make sure that your nails are completely clean, and then apply a base coat.

Step 2.) Follow the chart below to create Finn.


Row 1: Use a white striper to mark off a section of the nail for Finn's face and hat. Next, fill in the space with a white polish. You may need to apply two coats before the polish is opaque.
 
Row 2: Paint the bare tip of your nail with a blue polish to represent Finn's shirt. Then use a large/medium dotting tool to dab on two ovals on either side of Finn's hat.
 
Row 3: With the same dotting tool, use a light flesh colored polish for Finn's face. Create an oval by dotting a line of polish in the middle of the white section, and then carefully build around it until you're satisfied with the oval's size and shape. The trick to doing this with a dotting tool is to use plenty of polish and light, stippling motions so you don't dent the layer of polish underneath.
 
*You can always use a white striper to perfect the edges of the oval once the flesh toned polish has dried!


Step 3.) Follow the next two charts to create Princess Bubblegum.


 Frame 1: Swipe a line of pink polish down the center of the nail with a larger nail art brush, starting a bit above the cuticle.

Frame 2: Make another stroke that curves gently from the first. (Basically, you're just making a big oval).

Frame 3: Repeat step two on the other side of the nail, and fill in any gaps. Using one central stroke as a starting point for the curves will make sure that they are symmetrical.


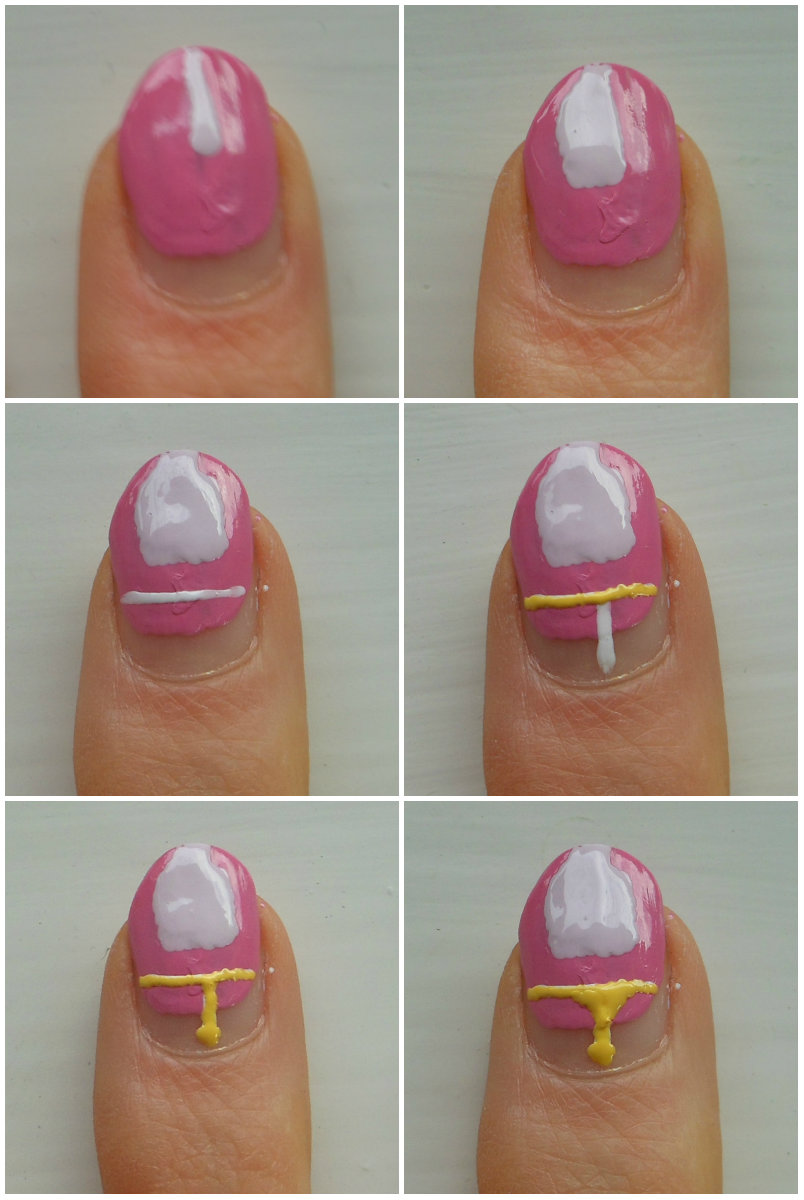
 Row 1: With a pale lavender polish and a large/medium dotting tool, make a vertical line in the center of the pink oval. On one side of the line, make a short horizontal line and then gently curve it downward. Fill in any gaps, and make sure to keep the top edge of Bubblegum's face straight so that it looks as if she has bangs.

Row 2: After repeating the previous step on the other side of the nail, use a white striper to make a thin line across Bubblegum's forehead. Next, make a vertical line with the striper that connects to the center of the previous line. Wait for the white to dry, and then carefully go over it with a yellow polish. The white acts as a base to make the yellow appear more vibrant.

Row 3: With the same yellow polish and a medium dotting tool, make a dot at the top of Bubblegum's crown. Use the dotting tool to make the connections between the vertical and horizontal lines of the crown curved.


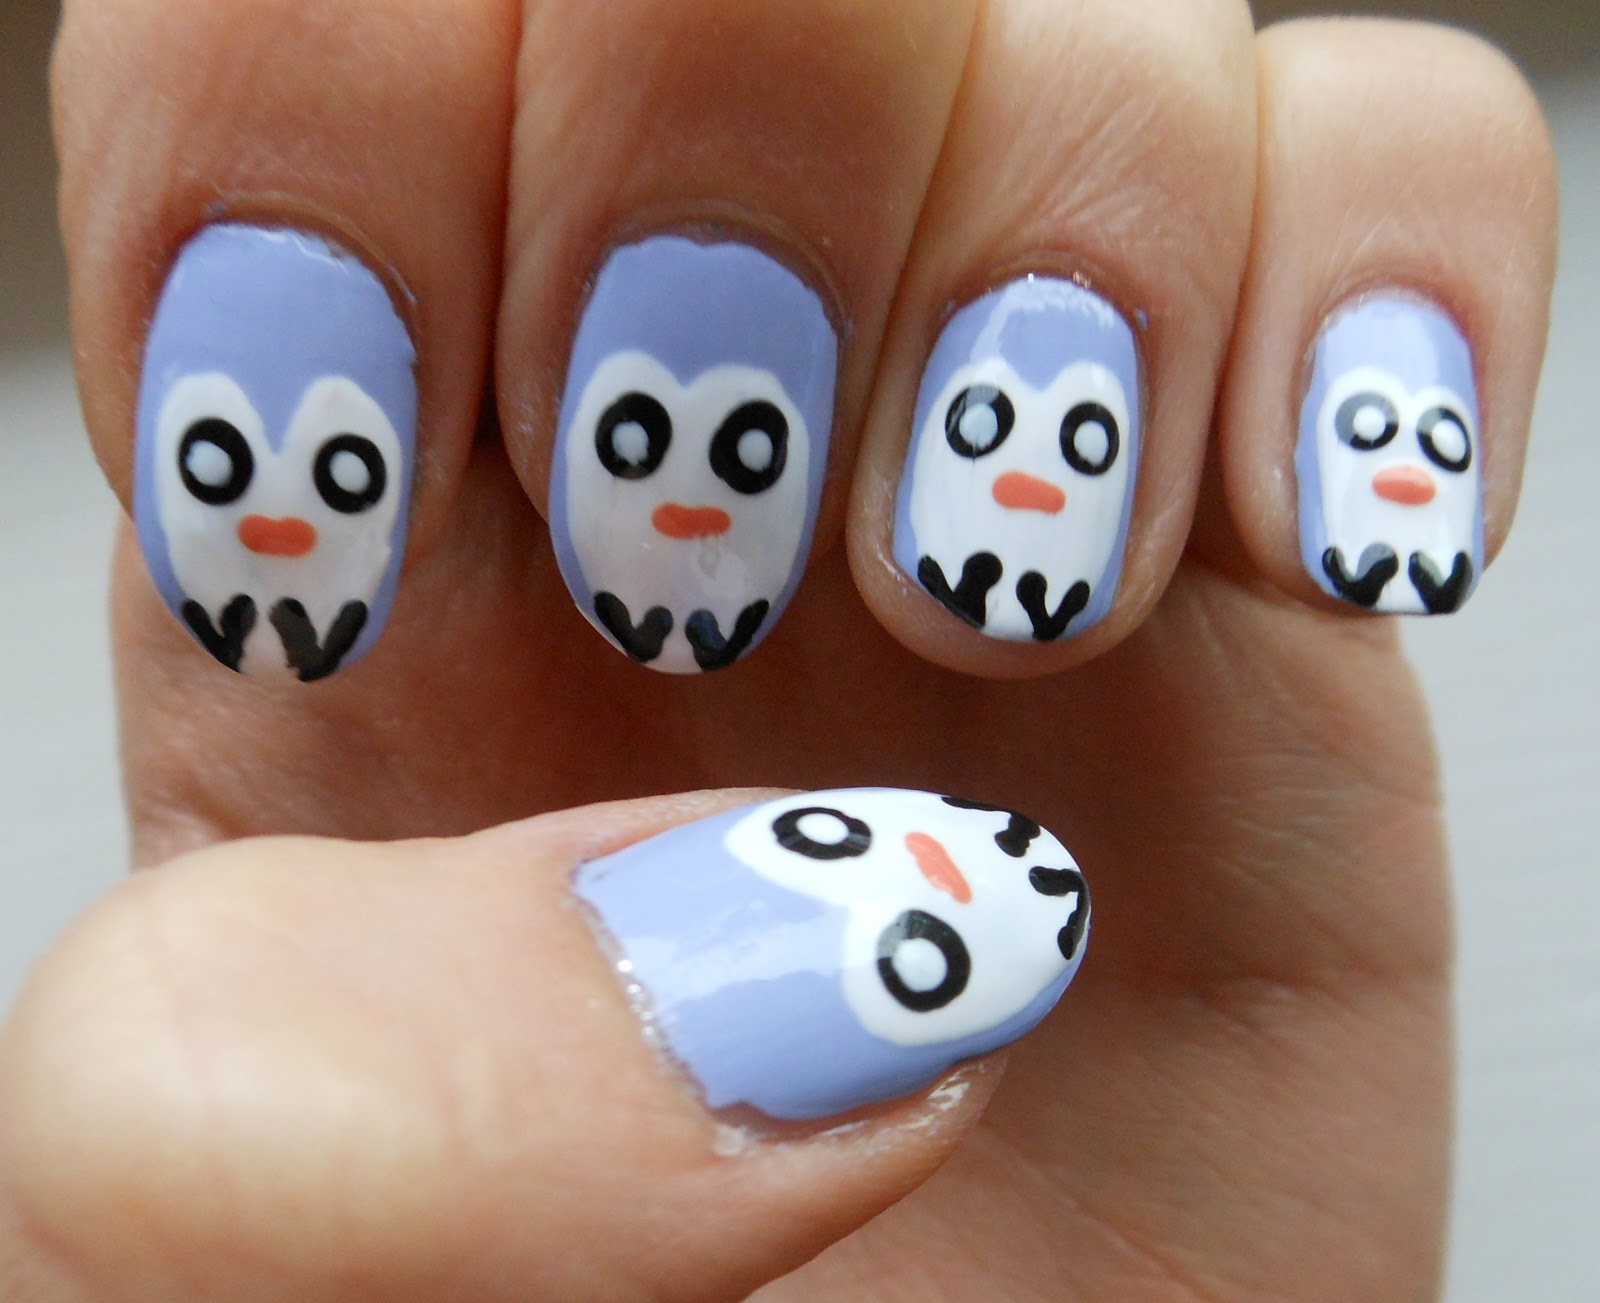
Step 4.) Give Finn and Bubblegum eyes and a mouth!

 
The eyes should sit quite far apart, and the mouth should be positioned between the eyes and only slightly downward.
 
* Princess Bubblegum should have a light blue jewel at the top of her crown- the yellow wasn't dry yet, so I made the faces before going back in with a small dotting tool and light blue polish.


Step 5.) Seal with a topcoat and you're done!

Products Used:

Finn:
Essie "Go Overboard", O.P.I "Don't Pretzel My Buttons"
 

Princess Bubblegum:

Essie "Pilates Hottie", Sephora by O.P.I (not sure of the color), Sally Hansen Xtreme Wear "Mellow Yellow", L'Oreal "Club Prive".
 
Both:


Sally Hansen Xtreme Wear "Black Out", Essie "Blanc", Kiss Nail Art Paint in white.
 
*I mixed a lot of my colored polishes with white to get the right shade, just as you would with acrylic paint.


Sunday, December 23, 2012

How-To: Festive Art Deco Holly Nails

Hello! Now that Christmas is in a mere two days, I couldn't not decorate my nails appropriately. Yes, this look calls for deep greens and reds and glitter, but I tried to keep it Christmas classy with streamlined, art deco lines. So without further ado, here's my take on festive holly berry nail art:


Step 1.) Apply a base coat and paint your nails one coat of a sheer pink polish- this will get rid of any slight discoloration on the nail.


* The green on the edges of my nail isn't staining- I had this design on yesterday but didn't take very good pictures, so I re-shot the tutorial on this finger after lazily removing the green tips.


Step 2.) Create the design


Row 1: Allow the sheer polish to dry, and then plot out the shape of the green tips with three small dots. The center dot should be placed in the center of the nail, just above the smile line. The two outer dots should be placed halfway down the nail on either side.

Row 2: Connect the dots with one careful swipe of a dark green polish. If you have trouble creating straight lines, rotate your nail to guide the brush instead of keeping your nail still and relying on your hand. Repeat this process on the other side, and apply another coat of polish to make the green more opaque.

Row 3: With a glittery silver striper, follow the triangular shape you just made. This outline will help cover up any mistakes, as glitter polish is very forgiving. Next, use a medium sized dotting tool dipped into glittery red polish to create three berries. Try to keep them uniform in size, but it won't ruin the look if one is smaller or larger than the others.


Step 3.) Wait a good 25 minutes before applying a topcoat- glitter polish has a tendency to smear. Clean up around the edges if necessary, and the design is complete!

 
Good luck!


Products used:


L'Oreal "Wishful Pinking", Essie "Going Incognito", Essie "Leading Lady", Kiss Nail Art Paint in silver glitter


Seche Vite top coat, Nail Tek Foundation II base coat

Sunday, December 9, 2012

How-To: Easy Penguin Nail Art


Lately I've had this really bad habit of picking off my nail polish even before it starts to chip :(
However, I've discovered that I'm less likely to want to destroy my manicure if my nails have little faces on them... Weird, I know, but that's kind of the story behind this penguin manicure. Also the fact that it's the holiday season, but you wouldn't know it down here (yesterday the high was 82!)

Anyway, keep reading if you want to know how I achieved this design!

Step 1: Paint the nails a lavender/periwinkle color. If you aren't a big fan of purples, the great thing about this design is that you can use any background color you want- obviously these penguins aren't meant to be realistic, so paint your nails whatever color strikes your fancy.


Step 2: With a white polish and a large-ish dotting tool, create the penguin's heart shaped body.


Row 1: Start off by making a dot about half way up the nail that is slightly off-centered. Next, pick up more polish with the dotting tool and paint a curved tail extending from the dot (it should look kind of like a comma).

Row 2: Make another comma shape on the other side of your nail, and extend the tails so that they reach the edge of the nail. Begin to fill in the middle, but be sure to leave some space at the top for the dip of the heart.

Row 3: With a smaller dotting tool (toothpicks work too) make a v shape to connect the two curves. Finally, Fill in any gaps with more white polish.


Step 3: Wait 10 minutes for the white to dry, and then give your penguins some eyes. This is when it starts to get insanely cute.


With a large dotting tool and black polish, make two dots on each nail. The dots should line up with the arches of the heart.

Step 4: While you wait for the eyes to dry, use your dotting tool to create the rest of the penguin's face.


Clockwise: 1.) Use a small dotting tool dipped into black polish to carefully make a short line towards the edge of your nail that follows the curve of the white heart. 2.) Make another short line that connects to the first to form a v shape. 3.) Repeat on the other side- now your penguin has little feet! Also, use an orange polish to dab on a small, horizontal line for the beak (I don't actually own orange, so I just made a mixture of about 90% yellow and 10% red polish).  4.) Once you've done numbers 1-3 to the rest of your nails, dab a small white dot on top of the black eyes to create a highlight.

Step 5: Seal with a topcoat and you're done!


Nail polishes used:


L to R: Essie "Blanc", Urban Outfitters "Crowded", Sally Hansen Xtreme Wear "Black Out", Sally Hansen Xtreme Wear "Mellow Yellow", Sally Hansen Insta-Dri "Rapid Red".

Topcoat and Basecoat:


Seche Vite Dry Fast Top Coat, NailTek Foundation II Base Coat.