
Lately I've had this really bad habit of picking off my nail polish even before it starts to chip :(
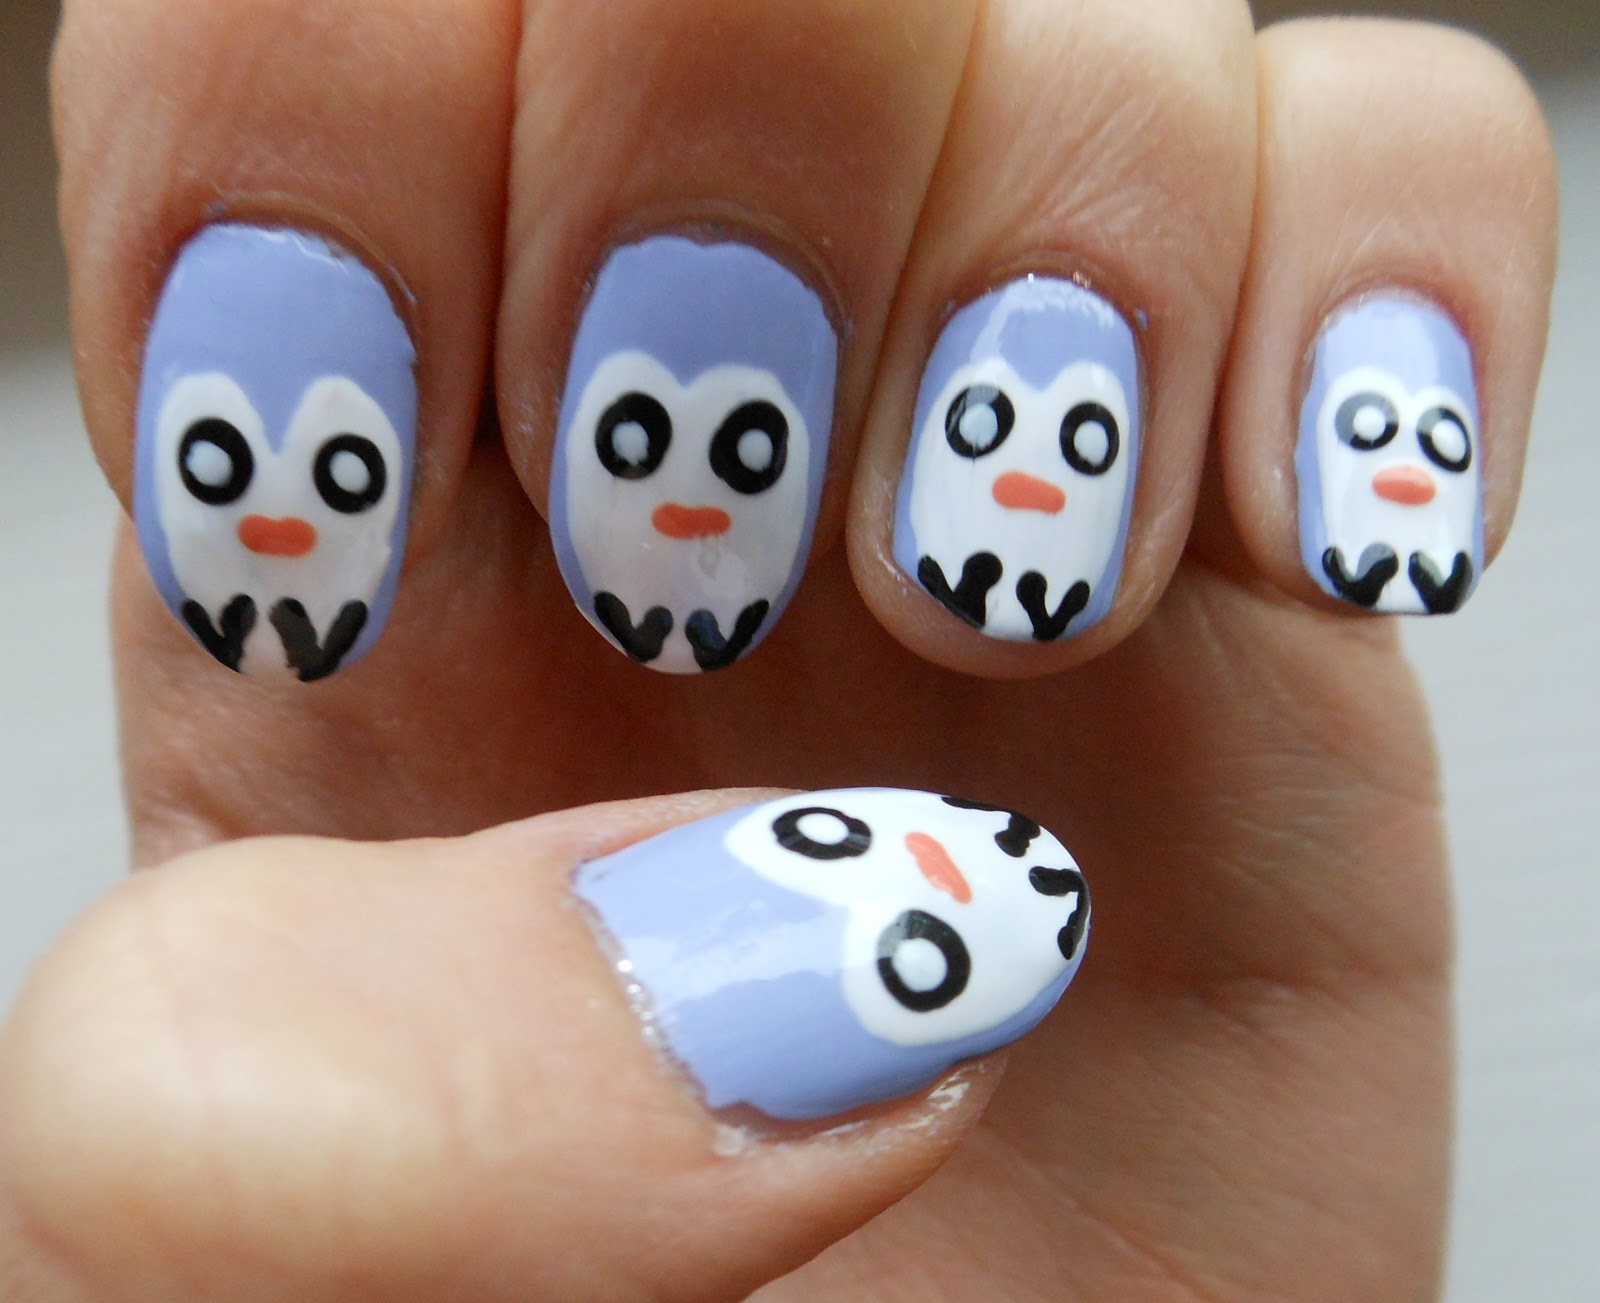
However, I've discovered that I'm less likely to want to destroy my manicure if my nails have little faces on them... Weird, I know, but that's kind of the story behind this penguin manicure. Also the fact that it's the holiday season, but you wouldn't know it down here (yesterday the high was 82!)
Anyway, keep reading if you want to know how I achieved this design!
Step 1: Paint the nails a lavender/periwinkle color. If you aren't a big fan of purples, the great thing about this design is that you can use any background color you want- obviously these penguins aren't meant to be realistic, so paint your nails whatever color strikes your fancy.

Step 2: With a white polish and a large-ish dotting tool, create the penguin's heart shaped body.

Row 2: Make another comma shape on the other side of your nail, and extend the tails so that they reach the edge of the nail. Begin to fill in the middle, but be sure to leave some space at the top for the dip of the heart.
Row 3: With a smaller dotting tool (toothpicks work too) make a v shape to connect the two curves. Finally, Fill in any gaps with more white polish.
Step 3: Wait 10 minutes for the white to dry, and then give your penguins some eyes. This is when it starts to get insanely cute.

With a large dotting tool and black polish, make two dots on each nail. The dots should line up with the arches of the heart.
Step 4: While you wait for the eyes to dry, use your dotting tool to create the rest of the penguin's face.

Clockwise: 1.) Use a small dotting tool dipped into black polish to carefully make a short line towards the edge of your nail that follows the curve of the white heart. 2.) Make another short line that connects to the first to form a v shape. 3.) Repeat on the other side- now your penguin has little feet! Also, use an orange polish to dab on a small, horizontal line for the beak (I don't actually own orange, so I just made a mixture of about 90% yellow and 10% red polish). 4.) Once you've done numbers 1-3 to the rest of your nails, dab a small white dot on top of the black eyes to create a highlight.
Step 5: Seal with a topcoat and you're done!
Nail polishes used:

L to R: Essie "Blanc", Urban Outfitters "Crowded", Sally Hansen Xtreme Wear "Black Out", Sally Hansen Xtreme Wear "Mellow Yellow", Sally Hansen Insta-Dri "Rapid Red".
Topcoat and Basecoat:

Seche Vite Dry Fast Top Coat, NailTek Foundation II Base Coat.
No comments:
Post a Comment